
Home » How to Install Water Ripple Stainless Steel Ceiling
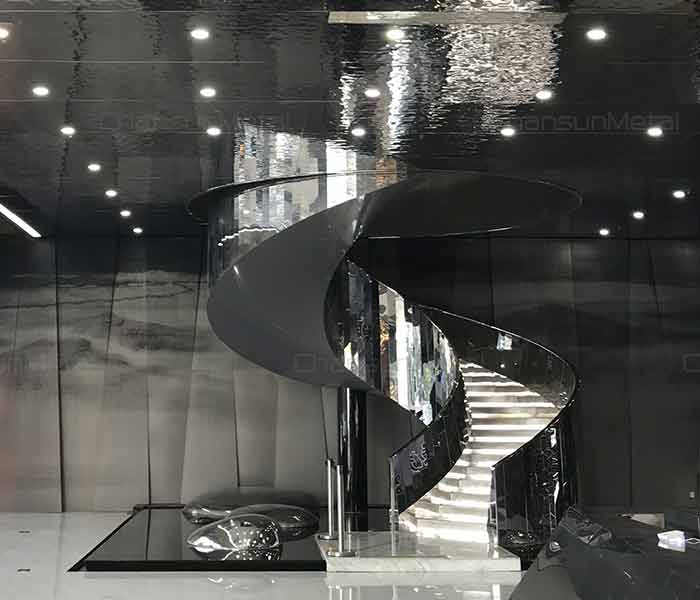
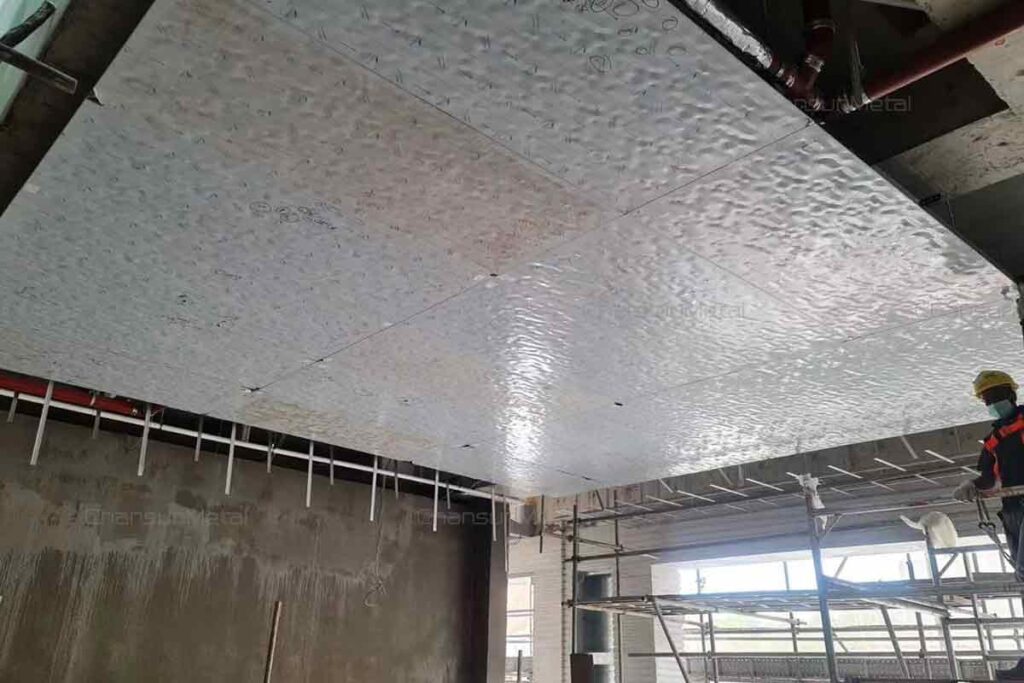
Stainless steel water ripple ceilings are a modern and elegant choice for interior design, offering both aesthetic appeal and functional benefits. These ceilings feature a distinctive wave-like pattern that mimics the gentle ripples on water, creating a dynamic and sophisticated visual effect. Made from high-quality 304 stainless steel, these ceilings are not only visually stunning but also durable, resistant to corrosion, and easy to maintain.
Ideal for a variety of applications including commercial spaces, luxury hotels, and high-end residential projects, stainless steel water ripple ceilings add a touch of contemporary style and refinement to any environment. With the ability to customize designs and finishes, they provide architects and designers with the flexibility to create unique and captivating spaces.

Water ripple ceiling in restaurant
water ripple ceiling in lobby
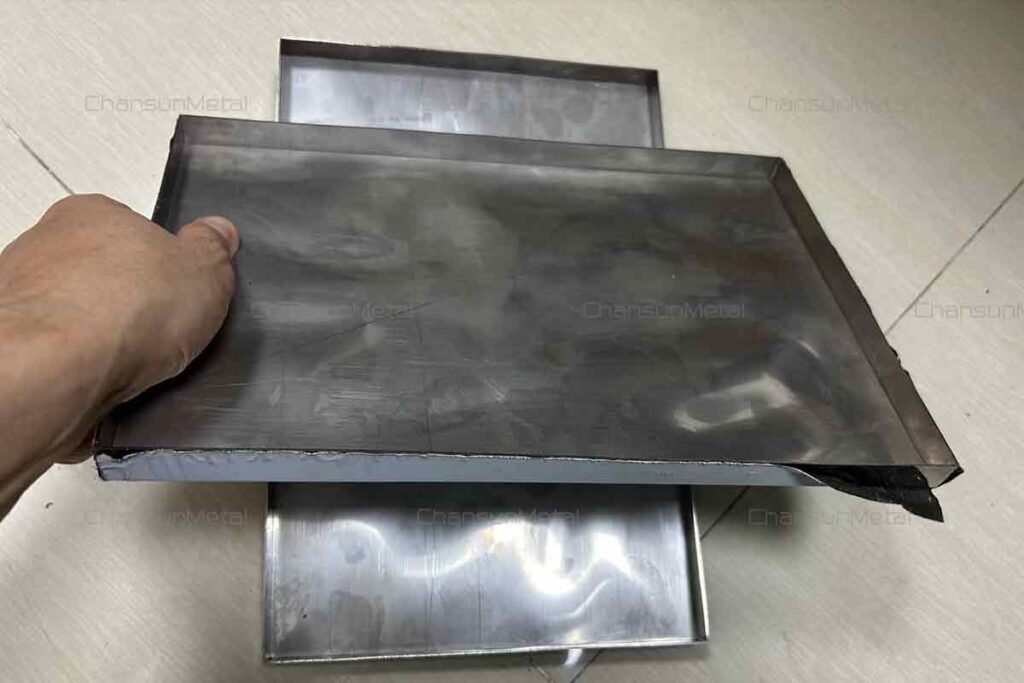
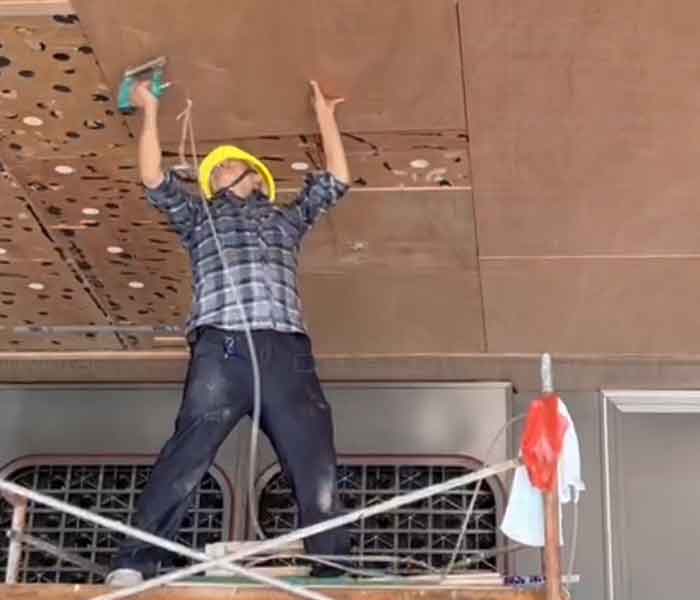
Attach backboard
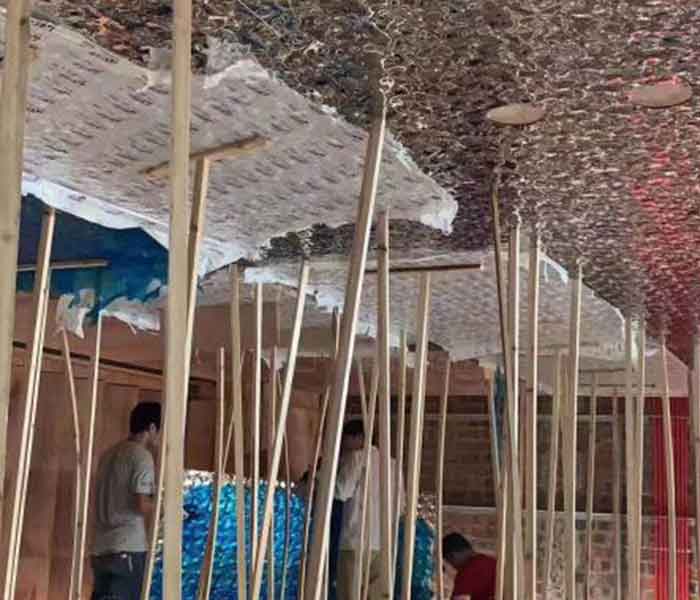
Mounting the panels
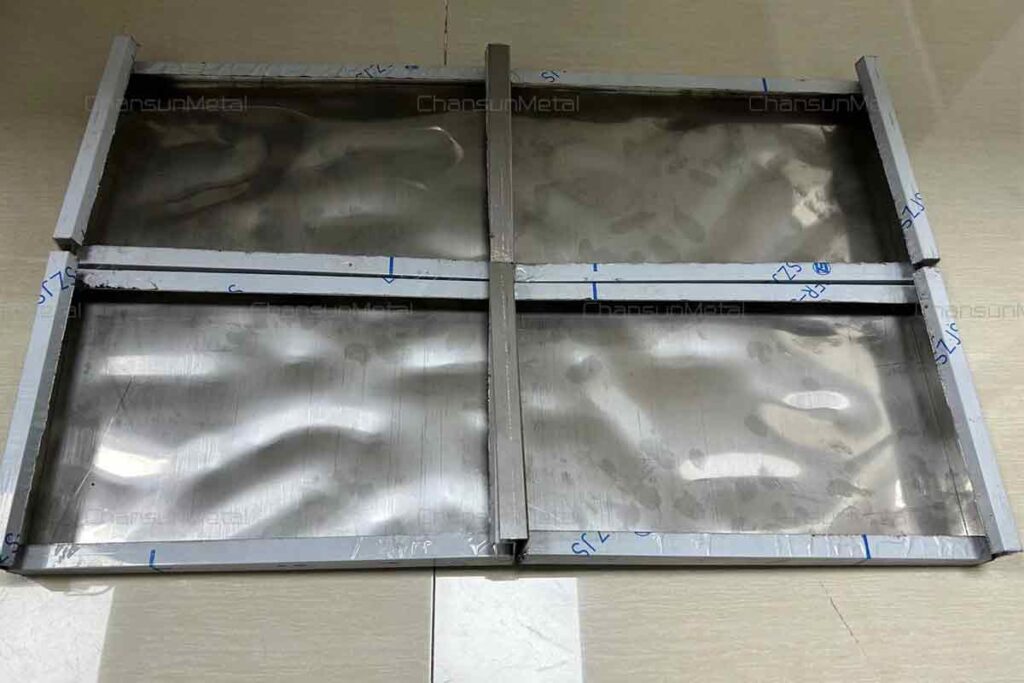
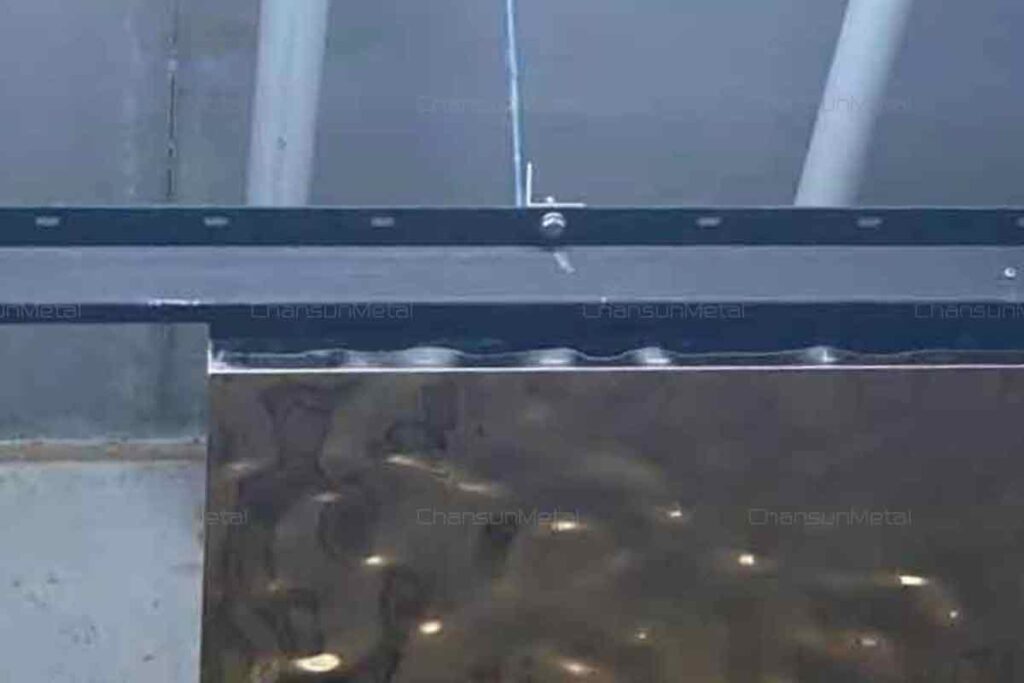
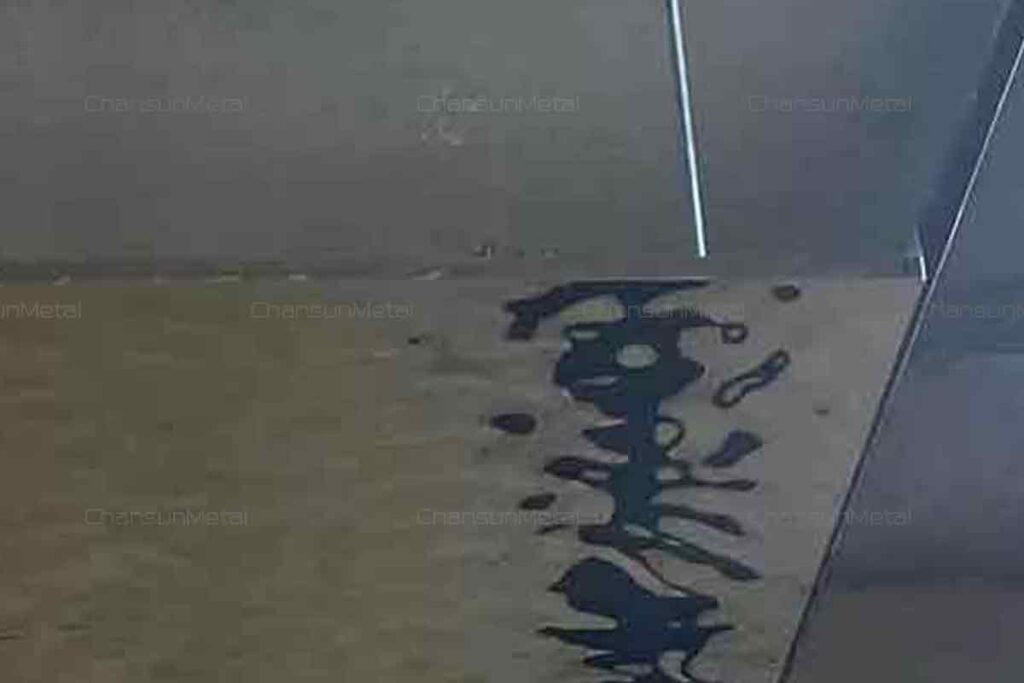
Mounting the panels on the brackets like the pictures above
Choosing the right installation method for ripple stainless steel ceiling panels depends primarily on the base material of your ceiling. If your ceiling base is wooden sheet, the ripple panels are best installed by adhering them to a wooden backboard. If your ceiling base is concrete slab, the ripple panels should be securely hung using an installation framework.
Welcome to Chansun Metal!
As a premier supplier of high-quality decorative stainless steel sheets and fabrication, we pride ourselves on innovation, custom design support, and comprehensive solutions.
Serving clients in Europe, America, the Middle East, and Southeast Asia, we are dedicated to meeting the exacting standards of design engineering companies and furniture manufacturers worldwide.
Discover our commitment to excellence and let Chansun Metal be your trusted partner in creating stunning stainless steel solutions.
Just fill out your name, email, and a brief description of your inquiry in this form. We will reply you within a day.

We will reply you within one working day, please pay attention to the email with the suffix “@chansunmetal.com”.